-
Prep Time: 35 minutes
-
Cook Time: 20-25 minutes
-
Total Time: 1 hour 10 minutes (includes chilling time)
-
Yield: Approximately 30-40 tots (serves 4-6 as a side)
-
Difficulty: Medium
Intensity Breakdown
-
Skill Level: Medium. This recipe requires a few steps that demand a bit of patience and technique, including properly drying the potatoes and shaping the tots.
-
Effort Intensity: Moderate. This is not a “dump and stir” recipe. It involves boiling, grating, squeezing, mixing, shaping, and frying. It’s a hands-on process.
-
Time Intensity: High. While the active cooking time is around an hour, the resting and chilling periods are crucial and require planning ahead.
-
Mess Factor: Medium. Expect to use a few bowls and a baking sheet. The most potentially messy part is squeezing the water out of the potatoes.
-
Satisfaction Factor: Extremely High. The payoff of biting into a hot, perfectly crispy, homemade tater tot makes all the effort worthwhile.
Ingredients
-
2 ½ lbs (about 1.1 kg) Russet or Idaho potatoes (about 4 large potatoes)
-
1 teaspoon kosher salt, plus more for the boiling water
-
½ teaspoon garlic powder
-
½ teaspoon onion powder
-
¼ teaspoon smoked paprika (optional, for a subtle smoky flavor)
-
¼ teaspoon freshly ground black pepper
-
½ cup (about 60g) all-purpose flour
-
1 large egg, lightly beaten
-
Vegetable or canola oil, for frying (enough to fill a heavy-bottomed pot to a depth of 2-3 inches)
Step-by-Step Instructions
Part 1: Prep the Potatoes
-
Boil the Potatoes: Place the whole, unpeeled potatoes in a large pot and cover them with cold water by at least 2 inches. Add a generous tablespoon of salt to the water. Bring to a boil over high heat, then reduce the heat to a simmer. Cook for 20-25 minutes, or until the potatoes are tender but still hold their shape—they should be easily pierced with a knife but not falling apart.
-
Cool and Peel: Drain the potatoes and let them sit until they are cool enough to handle. The residual steam will help them dry out. Once cool, peel the skins off—they should slip off easily.
-
Grate the Potatoes: Using a box grater or a food processor fitted with a grating disc, grate the potatoes using the large holes. Spread the grated potatoes out on a clean kitchen towel or a few layers of paper towels.
Part 2: Extract the Moisture (The Most Important Step!)
-
Squeeze, Squeeze, Squeeze: This is the secret to crispy tots. Gather the corners of the towel and twist it tightly to wring out as much liquid as possible from the grated potatoes. You will be surprised by how much water comes out. Squeeze it over the sink. Do not skip this step. The drier the potatoes, the crispier your tots will be.
Part 3: Create the Mixture
-
Combine Ingredients: Transfer the squeezed, dry grated potatoes to a large mixing bowl. Add the 1 teaspoon of kosher salt, garlic powder, onion powder, smoked paprika (if using), and black pepper. Sprinkle the flour over the top and add the beaten egg.
-
Mix Thoroughly: Use your hands or a spatula to mix everything together until it forms a cohesive, slightly sticky dough. It should hold together when you press it between your fingers. If it’s too wet, you can add a tiny bit more flour, but be careful not to overdo it, or they’ll become dense.
Part 4: Shape and Chill
-
Form the Tots: Portion out about a heaping tablespoon of the mixture at a time. Gently roll it into a cylinder shape, about 1-inch thick and 1 ½ inches long. Don’t overwork the mixture; you want a rough, craggy surface as this will create more surface area for crisping. Place the formed tots on a baking sheet lined with parchment paper.
-
Chill: Once all the tots are formed, cover the baking sheet with plastic wrap and place it in the refrigerator for at least 30 minutes, or up to 2 hours. This chilling step is crucial as it helps the tots set and hold their shape during frying.
Part 5: Fry to Golden Perfection
-
Heat the Oil: When you’re ready to cook, pour the oil into a heavy-bottomed pot or Dutch oven, ensuring it’s no more than halfway full. Heat the oil over medium-high heat until it reaches 350°F (175°C). Use a deep-fry thermometer for accuracy.
-
Fry in Batches: Carefully drop a few tots into the hot oil, being sure not to overcrowd the pot (this will lower the oil temperature and make them greasy). Fry for 3-4 minutes, turning occasionally, until they are a deep golden brown and crispy all over.
-
Drain: Using a slotted spoon, transfer the fried tots to a plate lined with paper towels to drain any excess oil. Immediately sprinkle with a little extra salt. Repeat with the remaining batches.
Part 6: Serve
-
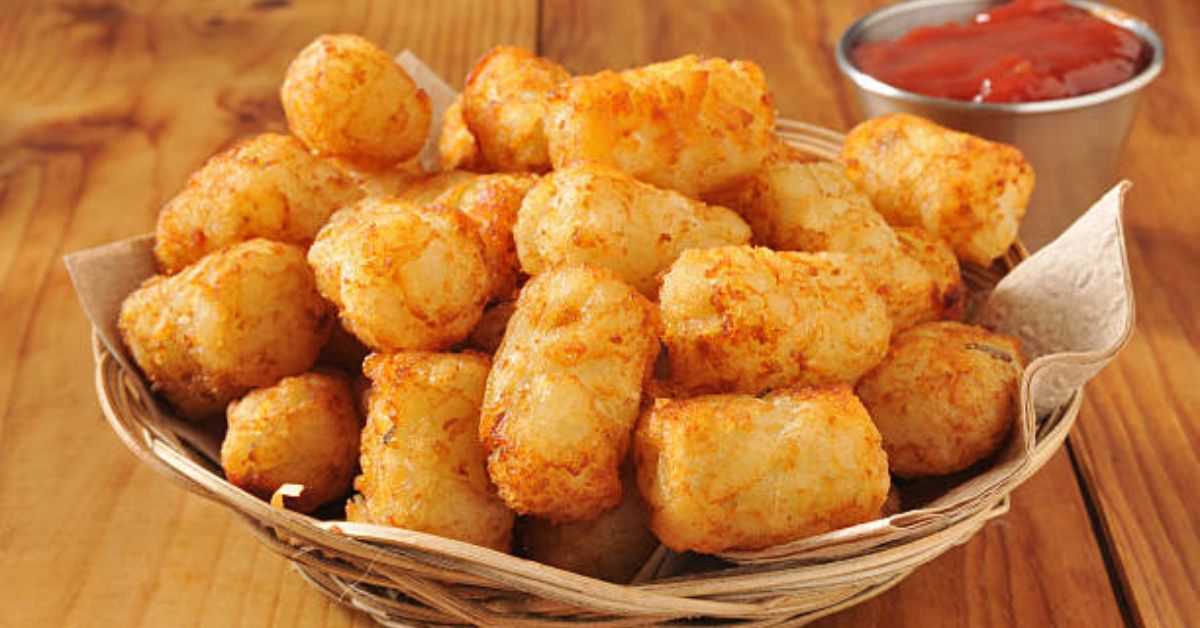
Serve Immediately: Tater tots are at their absolute best when served hot and fresh. Pile them high on a platter and serve with your favorite dipping sauces.
Chef’s Tips for Tot Success
-
The Right Potato: Russet potatoes are ideal due to their high starch and low moisture content. This makes them perfect for achieving a fluffy interior and a crispy exterior.
-
Don’t Over-Boil: The potatoes should be just tender. If they’re overcooked, they will be too mushy to grate and the mixture will be gluey.
-
The Squeeze is Key: I cannot stress this enough. The water in the potatoes is the enemy of crispiness. Don’t be gentle—really wring that towel out!
-
Temperature Control: Maintaining a steady oil temperature of 350°F is vital. If the oil is too cool, the tots will absorb oil and become greasy. If it’s too hot, the outside will burn before the inside is heated through.
-
Make-Ahead: You can form the tots and keep them in the fridge for up to a day before frying. They can also be frozen on the baking sheet, then transferred to a freezer bag for up to 3 months. Fry them directly from frozen, adding a few minutes to the cooking time.
Serving Suggestions
These golden nuggets are incredibly versatile. They are the perfect sidekick to a classic cheeseburger, a juicy steak, or a fun hot dog. For a fun twist, load them up “poutine-style” with cheese curds and gravy, or top them with chili, shredded cheese, and sour cream for a hearty snack. They also shine as a base for a breakfast hash, topped with a fried egg and crispy bacon.
Of course, you can’t forget the dips. Classic ketchup is a must, but feel free to get creative with spicy sriracha mayo, creamy ranch dressing, tangy barbecue sauce, or a zesty garlic aioli.
The Final Analysis: Why You’ll Love This Recipe
In conclusion, this homemade tater tot recipe is more than just a side dish; it’s a culinary project that yields an incredibly rewarding result. The combination of textures—the shattering, golden crust giving way to a soft, steamy potato center—is pure comfort. While the process requires more time and effort than opening a bag from the freezer, the superior flavor, customizable seasoning, and sheer satisfaction of making them from scratch are unmatched.
This recipe breaks down the process into manageable steps, with clear guidance on where to focus your effort (squeezing the potatoes is non-negotiable!). The result is a tot that is a true expression of your cooking, a testament to the idea that the best things in life are worth waiting (and working) for. So, gather your ingredients, roll up your sleeves, and prepare to enjoy the best tater tots you’ve ever had. They are a crispy, golden reminder of why homemade food is always better.
Nutrition Facts (Per Serving)
Serving Size: About 6-8 tots
Please note that these are estimated values and can vary based on specific ingredients and frying methods.
| Nutrient | Amount |
|---|---|
| Calories | 250 kcal |
| Total Fat | 14g |
| Saturated Fat | 2g |
| Trans Fat | 0g |
| Cholesterol | 25mg |
| Sodium | 350mg |
| Total Carbohydrate | 28g |
| Dietary Fiber | 3g |
| Total Sugars | 1g |
| Protein | 5g |
| Vitamin D | 0mcg |
| Calcium | 20mg |
| Iron | 1.5mg |
| Potassium | 450mg |